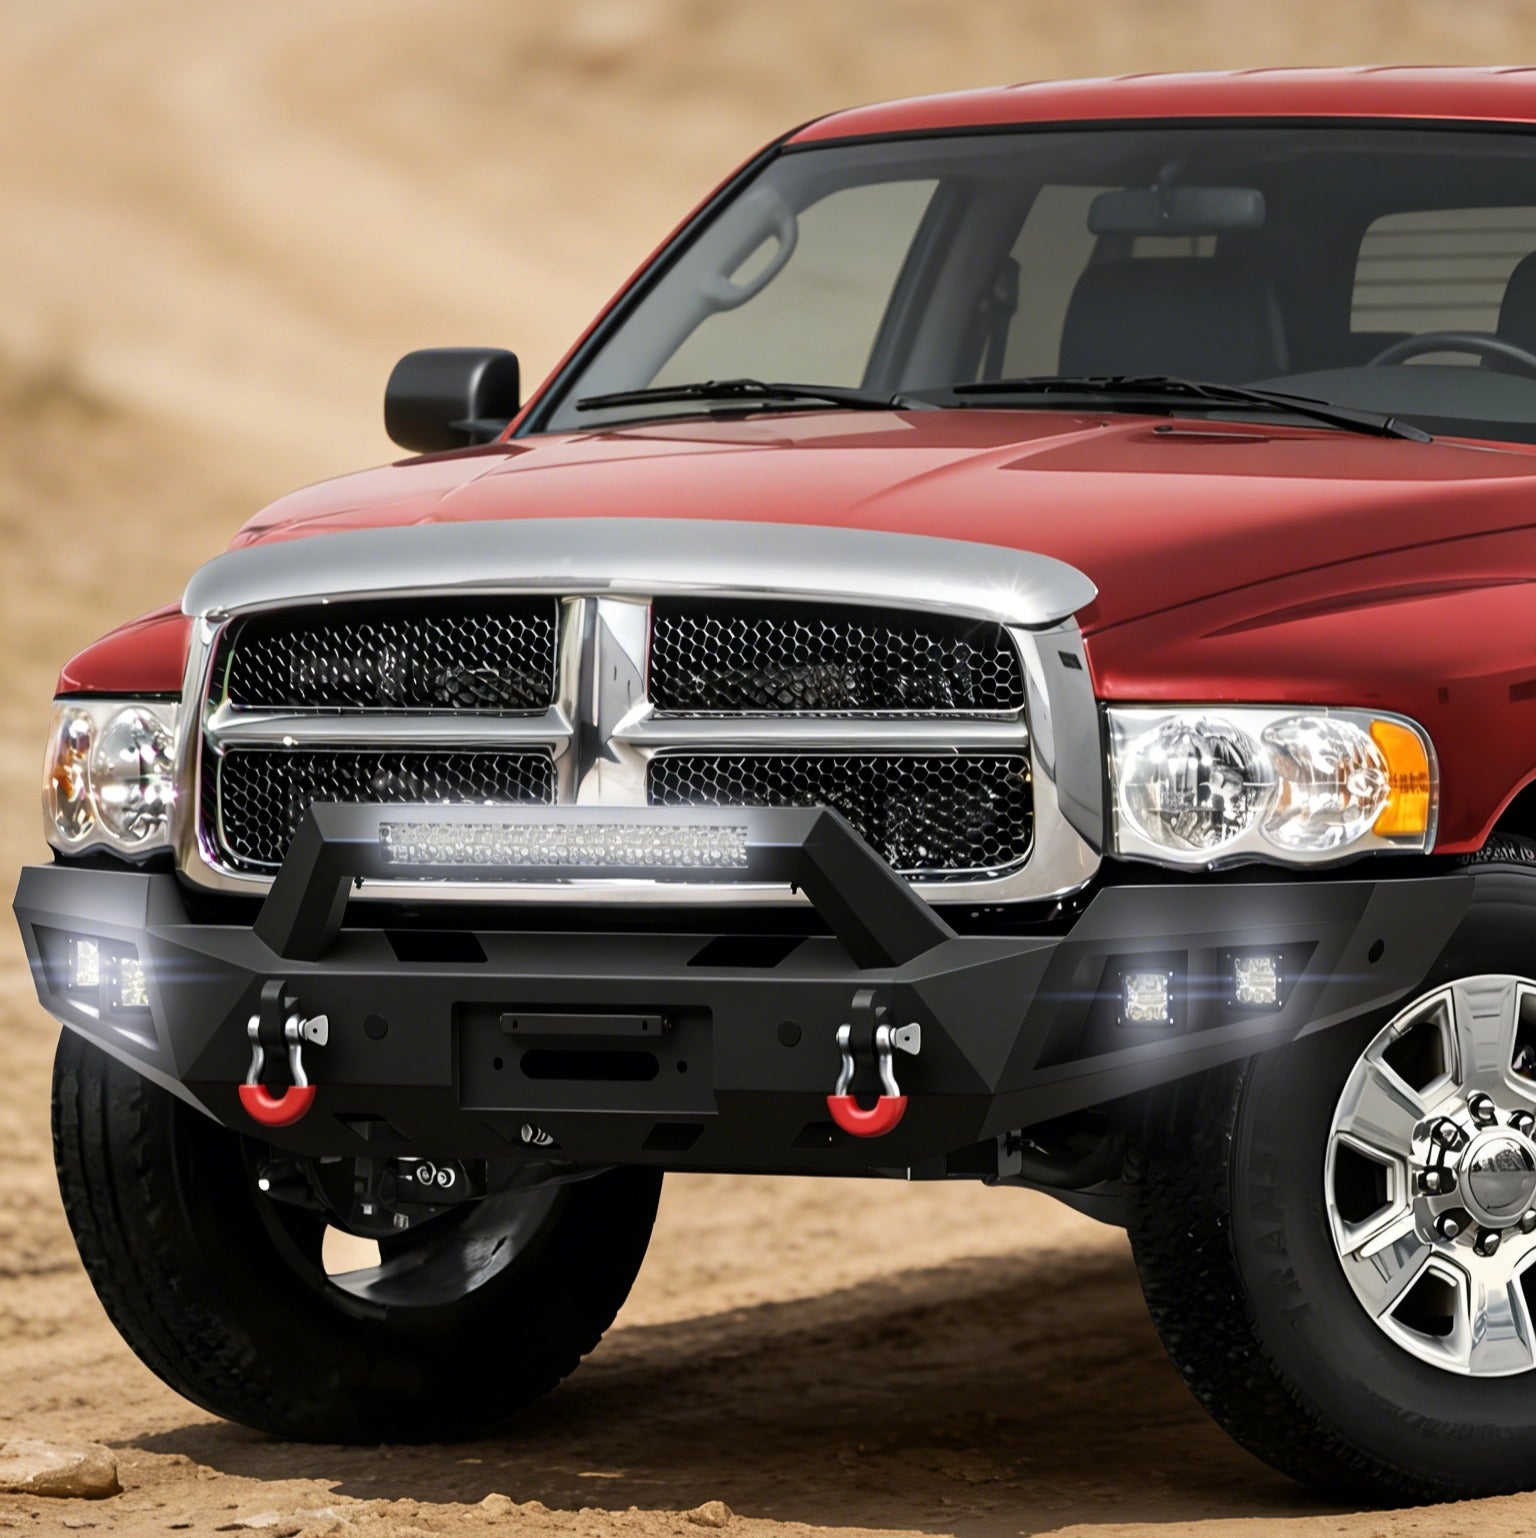
Rear Bumper on Silverado 2500 HD (2020–2023) – Real Owner Install Notes, Fitment Feedback, and Issues
I installed the BP-C1022 rear bumper on my 2022 Silverado 2500 HD over a weekend, with a second person helping with the lift and alignment. I'm writing this mainly because most "install guides" online make it sound either too easy or too dramatic. Reality is somewhere in between.
This is not a professional review. It's a mix of my install experience, what went wrong, and what I saw other owners run into in similar installs.
Vehicle Context
2022 Silverado 2500 HD LT
Factory rear parking sensors
Factory tow package
No prior aftermarket bumper installed

📄 Official Installation Manual — BP-C1022
Manufacturer-verified diagrams, torque specs, and wiring schematics. Read before you start.
Download Installation Manual (PDF)Overall Impression After Install
Fitment is generally solid if you take your time during alignment. The bumper is heavy but straightforward in terms of mounting design. The biggest difference compared to OEM is not installation complexity, but alignment sensitivity. A few millimeters off during tightening shows up immediately in panel gaps.
The LED system is simple but very dependent on how clean your wiring work is. Most issues I've seen (including mine) are electrical, not mechanical.
What Went Smoothly
OEM bumper removal was straightforward. If you've removed a factory Silverado rear bumper before, this is basically the same process: unplug harnesses, support the bumper, remove frame bolts, slide it off.
Main frame mounting points lined up without forcing anything. I did not need to drill or modify the frame.
Hardware was all included, and nothing was missing in my kit.
Where People Usually Underestimate the Job
Weight Handling
The bumper is more awkward than it is extremely heavy. It's not something you want to balance alone while trying to align bolts. Having a second person is not optional in practice, even if it looks manageable on paper.
Alignment Window
This is the part most people mess up. You have a very short "loose bolt" phase where everything needs to be aligned before final torque.
Once you start tightening M12 frame bolts, the bumper position locks in quickly. If it's slightly off, you will see uneven gaps immediately on the bed corners.
LED Wiring
This is the most common failure point based on both my install and what I've seen from other owners. The bumper side is easy. The truck side is where problems happen:
- Loose splice connections
- Poor grounding
- Wires routed too close to exhaust heat
- No waterproof sealing on taps
If your LEDs flicker or half the strip dies, it's almost always wiring quality, not the product itself.


Issues I Ran Into
1. Slight left-right gap difference after first torque pass
I had to fully loosen both sides and re-center the bumper before final tightening. Small frame tolerance differences are normal on these trucks.
2. One LED strip flickered intermittently
Turned out to be a weak splice connection on the reverse light tap. Redid the connection with proper sealing, and it stopped completely.
3. Parking sensor warning after reinstall
One sensor was not seated deep enough in the bracket. It was triggering false proximity alerts until I repositioned it.
Things I Would Do Differently Next Time
I would not rush the alignment step at all. That's the real "skill point" of this install.
I would also pre-build and test the LED wiring before mounting the bumper fully. Once it's installed, redoing wiring is much more annoying.
And I would lay out all hardware on a clean surface before starting instead of opening bags mid-install. It sounds basic, but it reduces mistakes when you're under time pressure.

Fitment Notes by Model Year
2020–2021 Trucks
Simpler sensor setup, fewer wiring components. Slightly easier install overall.
2022–2023 Trucks
More sensor integration. Wiring management matters more.
3500 HD
Not a direct bolt-on. Even if it "looks close," sensor and mounting differences make it a modification job, not an install.
Driving Impressions After Install
No noticeable vibration or rattling when installed correctly. Rear visibility at night is improved if you wire LEDs cleanly, especially in reverse or work lighting setups. I did not notice a meaningful fuel economy change in normal driving. The rear end visually looks more "complete" compared to stock, but that's subjective.
Common Problems Reported by Other Owners
- Rattling due to missing lock washers or under-torque
- Uneven bumper gap from premature tightening
- LED strip failure from moisture in connections
- Sensor false alarms from misaligned mounts
- Stripped bolts from over-torqueing without a torque wrench
Most of these are installation-process issues, not part defects.
Bottom Line
If you are comfortable doing basic mechanical work and can follow a structured tightening sequence, this bumper is a reasonable DIY install on a 2020–2023 Silverado 2500 HD.
The install difficulty is not "hard," but it is sensitive. The difference between a clean install and a frustrating one is mostly alignment discipline and wiring quality.
It's not a plug-and-play cosmetic swap, but it's also not a fabrication job. If you treat it like a precision assembly instead of a quick bolt-on, the result is solid.
Before starting your installation, view the BP-C1022 product page for full specs, fitment details, and included hardware — it'll save you from mid-install surprises.