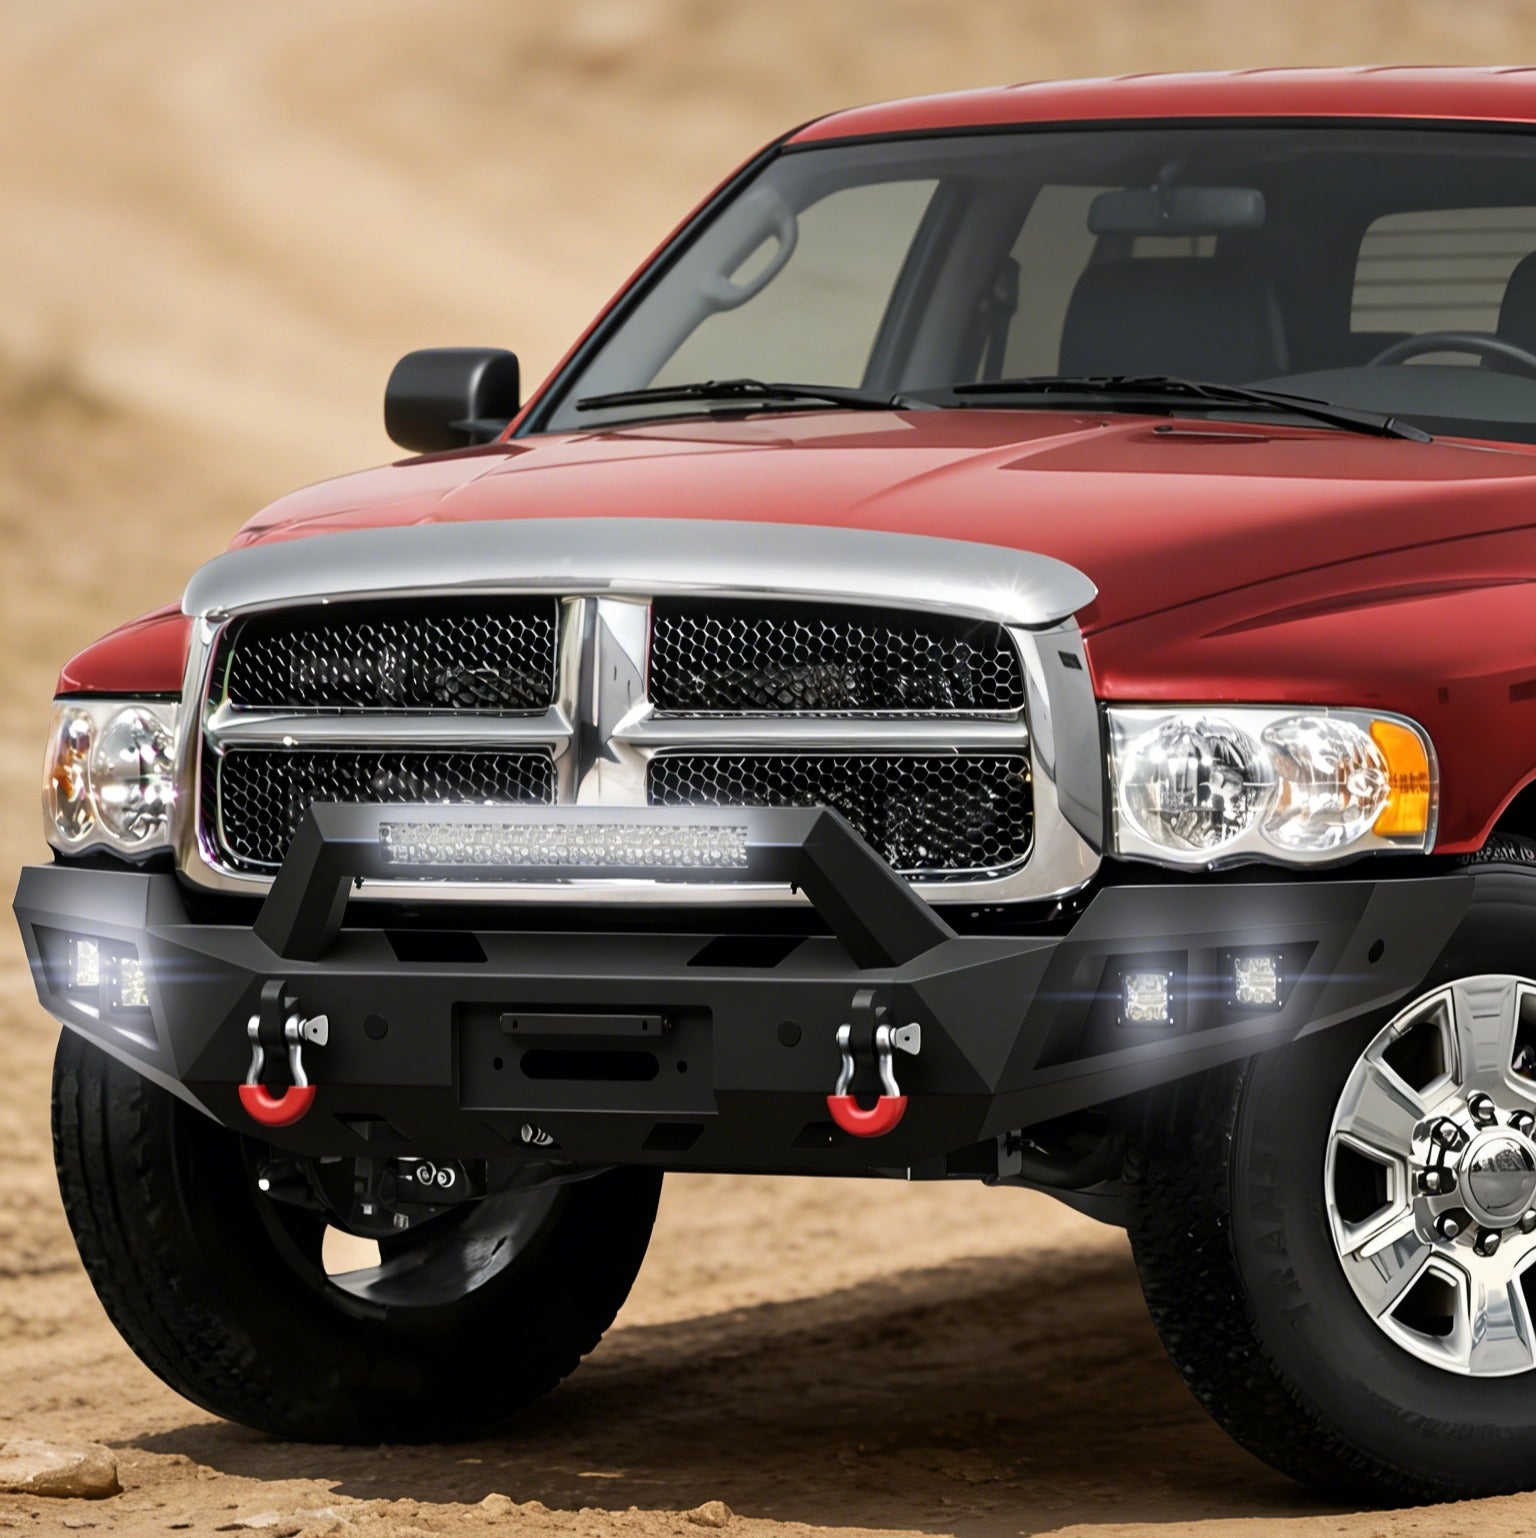
How I Upgraded My 2014 Ram 1500 with the BT-2022022 Steel Rear Bumper
Four hours, two people, zero drilling — here's everything I learned installing the BT-2022022 on my 2014 Ram 1500.
Before starting the installation, it’s a good idea to download the official installation manual. It provides detailed diagrams, hardware identification, and exploded views that complement the step-by-step instructions in this guide.
This blog focuses on real-world installation tips and practical advice, while the manual serves as a visual reference during assembly.
BT-2022022 Rear Bumper Installation Manual
Official PDF — Fits 2009–2018 Ram 1500 & 2019–2023 Ram 1500 Classic
⬇ Download PDF ManualWhy I Decided to Replace the Factory Rear Bumper
I’ve owned my 2014 Ram 1500 for several years. Most of my driving is highway commuting during the week, but on weekends I tow a small trailer, head to campsites, and occasionally drive forest service roads.
After a few years, the factory rear bumper had collected plenty of scratches and a couple of dents from loading equipment and backing into trailers. While it still looked decent from a distance, it wasn’t holding up the way the rest of the truck was.
I wanted a rear bumper that could:
- Handle minor off-road abuse better
- Add recovery points for emergencies
- Improve the appearance of the truck
- Leave room for auxiliary LED reverse lights
- Install without cutting or drilling the frame
That’s why I chose the BT-2022022 steel rear bumper, which fits:
- 2009–2018 Ram 1500
- 2019–2023 Ram 1500 Classic
After installing it myself over a weekend, here are the things I wish I had known beforehand.

Tools I Actually Used
The installation manual lists quite a few tools, but here’s what I ended up using the most.
Must-Have Tools
- 18mm socket and ratchet
- Metric socket set
- Torque wrench
- Trim removal tool
- Jack stands
- Needle-nose pliers
- Work gloves
One thing I highly recommend is having a magnetic tray for all the bolts. There are several different hardware sizes in the kit, and it’s surprisingly easy to mix them up once everything is spread across the garage floor.
You’ll also want a second person when it’s time to lift the bumper. The finished assembly is much heavier than the factory bumper.
Before Starting
The first thing I did was disconnect the negative battery terminal since I planned to wire auxiliary LED lights afterward.
I also took several photos of the factory wiring before unplugging anything. Those pictures saved me time during reassembly because I didn’t have to guess where the harness clips originally sat.
Another small tip: lay a moving blanket or cardboard on the garage floor before assembling the bumper. The powder-coated finish looked great out of the box, and I didn’t want to scratch it before it even went on the truck.
Step 1 – Assemble the New Bumper
I assembled the bumper completely before removing the factory one.
This part took longer than expected because there are several different bolt sizes:
- M8 hardware for reinforcement plates
- M10 hardware for the side wings
- M12 hardware for the D-ring brackets
One mistake I almost made was tightening everything immediately. Instead, I left every bolt slightly loose until every panel lined up evenly. Once the bumper was square, I torqued everything down. That made alignment much easier.
The D-ring brackets felt extremely solid once installed. If you live somewhere with snow or salted roads, I recommend applying anti-seize to the M12 hardware before final tightening.

Step 2 – Removing the Factory Bumper
Removing the stock bumper wasn’t difficult, but it definitely required patience.
The wiring clips for the license plate lights were probably the trickiest part. They release easily if you squeeze the tabs correctly, but forcing them with a screwdriver could break the plastic.
After disconnecting the wiring, I removed the factory mounting bolts and slid the bumper straight backward.
Compared to the steel replacement, the OEM bumper felt surprisingly light.
Step 3 – Installing the New Steel Bumper
This is where having a helper really matters.
My friend helped hold one side while I started the mounting bolts by hand.
Rather than tightening one side completely, we installed every bolt loosely first. That gave us enough adjustment to center the bumper with the truck bed.
Once everything looked even, we torqued the hardware gradually from side to side.
The fit on my 2014 Ram 1500 was excellent. I didn’t need to drill, enlarge holes, or modify the frame in any way.
Wiring the LED Lights
The bumper includes provisions for auxiliary LED lights.
I routed the wiring inside the bumper wherever possible and secured everything with zip ties to keep it away from moving suspension components.
If you’re not comfortable working with automotive wiring, this is probably the only part I’d recommend having professionally installed.
After Driving with It for a Few Weeks
After several weeks of driving, towing, and one camping trip, here are my impressions.
What I Like
- The truck looks noticeably more aggressive from the rear.
- The steel construction feels substantially more solid than the factory bumper.
- The integrated D-ring mounts add peace of mind during off-road trips.
- The powder-coated finish has been easy to clean after dirt and mud.
- Trailer access and hitch clearance remained unchanged on my truck.
Things to Keep in Mind
- The bumper is significantly heavier than the factory unit.
- After about 100 miles of driving, I checked every mounting bolt again — a few had loosened slightly, which is fairly common after a new installation.
Installation Tips I Learned Along the Way
If I were doing this installation again, I’d do these things from the beginning:
- Separate all hardware before opening the instruction manual.
- Leave every mounting bolt loose until final alignment.
- Photograph every factory wiring connector.
- Have another person available before lifting the bumper.
- Re-torque every bolt after the first 100 miles.
- Spray rust inhibitor on the frame mounting points before installing the new hardware.
OEM vs. BT-2022022 Rear Bumper — Honest Comparison
After living with both, here’s my honest side-by-side comparison.
| Factory OEM Bumper | BT-2022022 Steel Bumper | |
|---|---|---|
| Material | Plastic/composite | Heavy-duty steel |
| Weight | Lightweight | Considerably heavier |
| Recovery Points | None | Integrated D-ring mounts |
| LED Mounting | None | Built-in provisions |
| Installation | Simple swap | Bolt-on, no drilling |
| Off-Road Protection | Minimal | Significantly better |
| Appearance | Stock look | More aggressive/rugged |
| Parking Sensors | Compatible | Depends on the bumper version |
Was It Worth It?

For my 2014 Ram 1500, I’d say yes. The installation took me about four hours with help, and most of that time was spent carefully assembling the bumper and routing the wiring.
The finished product feels much more durable than the factory bumper, and it gives the truck a tougher appearance without requiring permanent modifications to the frame.
If you’re comfortable with basic hand tools and have a friend available to help with the lifting, this is a very manageable weekend DIY project.
Ready to Upgrade Your Ram 1500?
If you're looking for a rear bumper that offers a factory-style fit with the added strength of heavy-duty steel, the BT-2022022 Rear Bumper is designed specifically for compatible Ram 1500 models. It features a direct bolt-on installation, integrated recovery points, and a durable powder-coated finish built for both daily driving and weekend adventures.
👉 View the BT-2022022 Rear Bumper Product Page
Frequently Asked Questions
Will the BT-2022022 rear bumper affect my Ram 1500 towing capacity?
No, the bumper does not change the factory towing capacity. Towing limits are determined by the truck frame, drivetrain, and hitch system.
Do I need to drill my Ram 1500 frame to install this bumper?
No drilling is required. The BT-2022022 bumper is a direct bolt-on installation using factory mounting points.
Can I install this rear bumper by myself?
It is not recommended. The bumper is heavy and requires two people for safe installation and alignment.
Does this bumper fit a 2014 Ram 1500?
Yes, it fits 2009–2018 Ram 1500 and 2019–2023 Ram 1500 Classic models.
How long does installation take?
Average installation takes 3–5 hours for DIY users, including assembly, removal, and mounting.