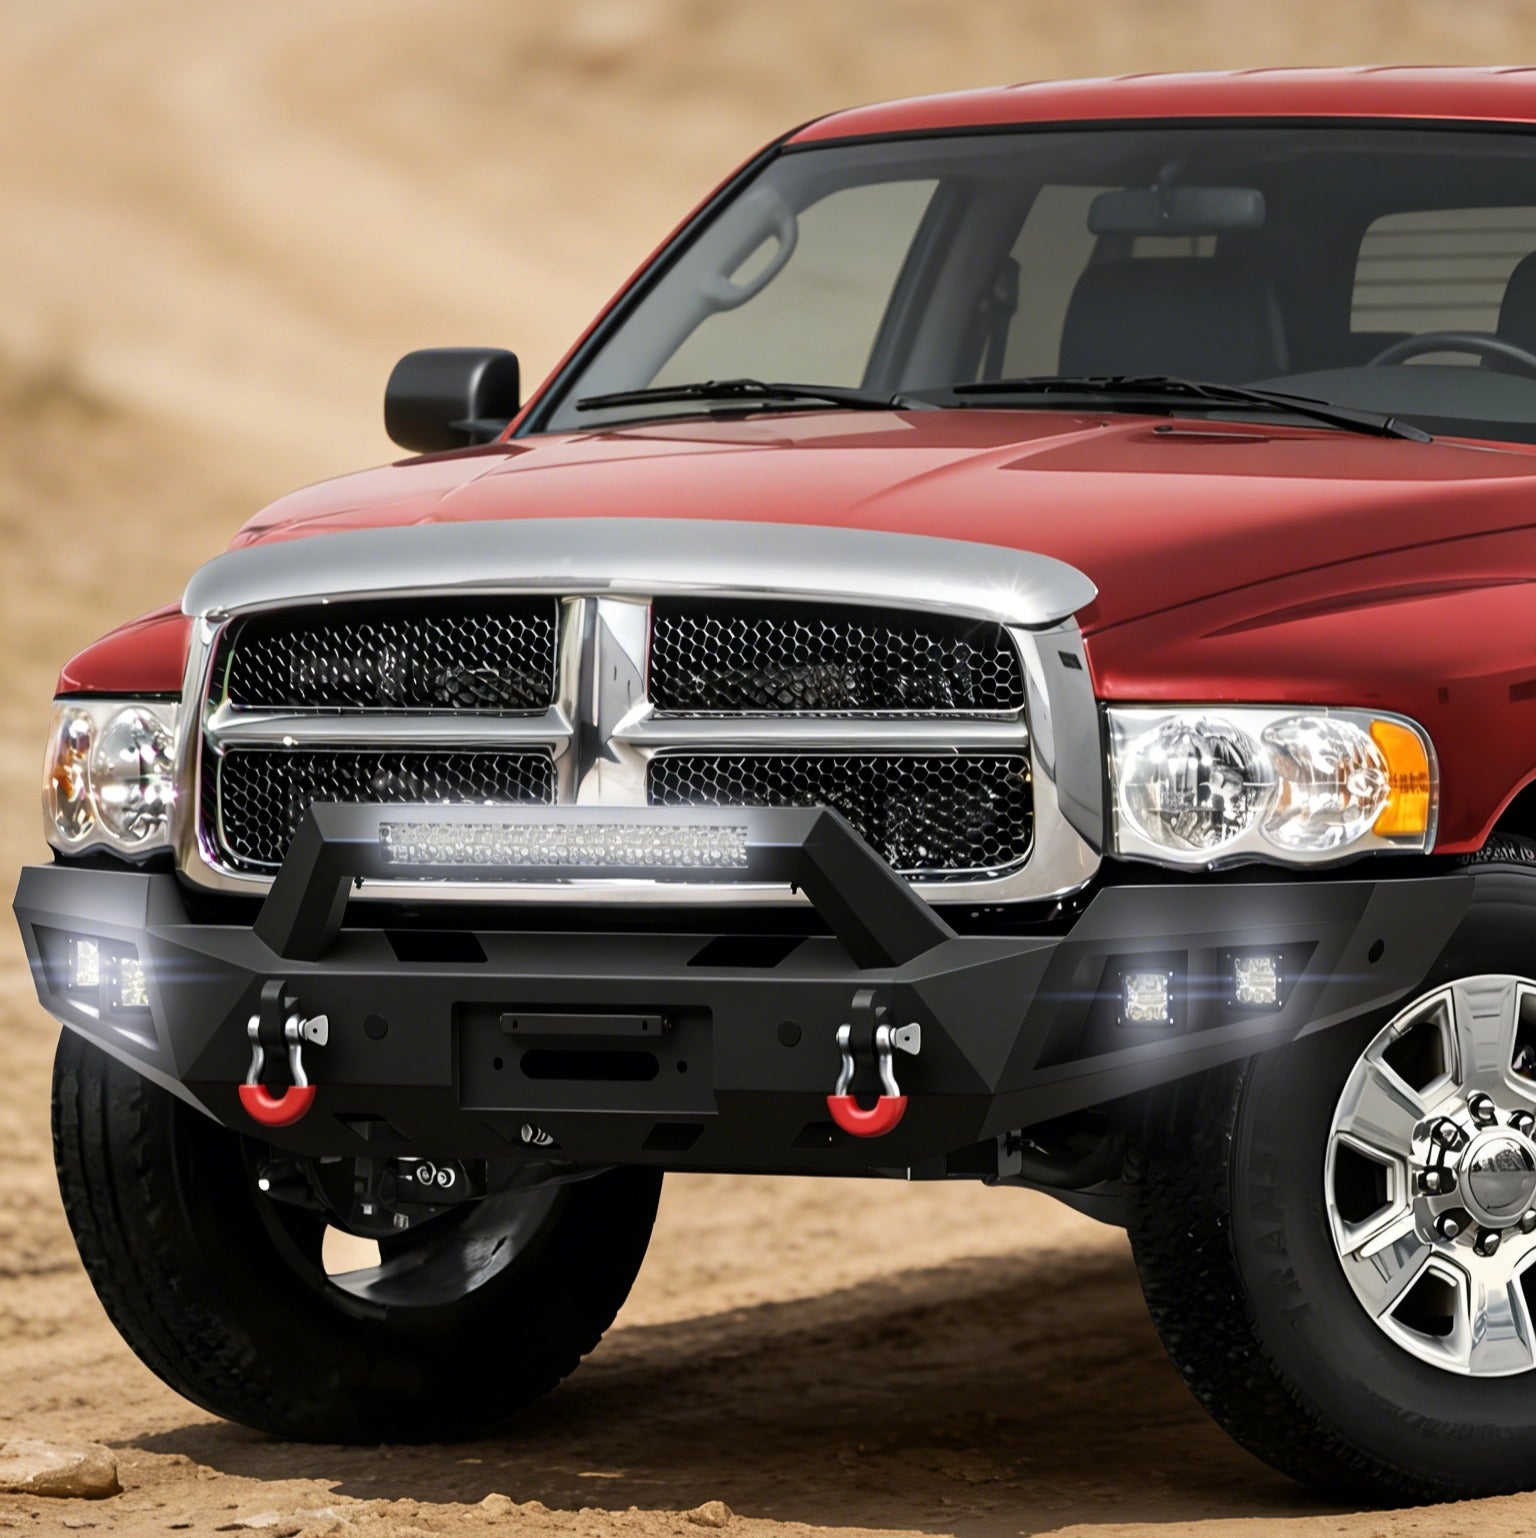
My 2015 Toyota Tacoma 2nd Gen Front Bumper Installation Guide: A Real Owner’s DIY Experience
When I bought my 2015 Toyota Tacoma, one of the first upgrades I wanted to complete was replacing the factory front bumper with a stronger aftermarket off-road bumper.
The factory Tacoma bumper works well for daily driving, but for off-road use, it has some limitations. It does not provide an integrated winch mounting location, dedicated auxiliary lighting support, or heavy-duty recovery points that many adventure builds require.
After installing a bolt-on aftermarket front bumper on my 2nd Gen Tacoma, I learned that the installation process is not difficult, but preparation makes a huge difference.
The biggest challenges were not removing the factory bumper or installing the new one. The difficult parts were:
- Identifying the correct hardware
- Following the correct assembly sequence
- Aligning bumper panels before final tightening
- Safely mounting a heavy steel bumper without damaging the truck

You can view the exact bumper used in this installation guide here:
👉 [2005–2015 Toyota Tacoma 2nd Gen Aftermarket Front Bumper]
This guide shares my complete installation experience with my 2015 Toyota Tacoma, including the steps I followed, mistakes I made, and tips that can help other 2nd Gen Tacoma owners complete the same upgrade.
My 2005–2015 Tacoma Setup and Installation Overview
I installed this aftermarket front bumper on my 2015 Toyota Tacoma as part of an off-road-focused build. Before starting the project, I prepared all tools, organized the hardware, and reviewed the installation instructions carefully.
The bumper used in this build is:
👉 [2005–2015 Toyota Tacoma 2nd Gen Aftermarket Front Bumper]
| Item | Details |
|---|---|
| Vehicle | 2015 Toyota Tacoma |
| Generation | 2nd Generation Tacoma (2005–2015) |
| Upgrade | Aftermarket steel front bumper |
| Installation Type | Bolt-on replacement |
| Frame Modification | Not required |
| Installation Time | Approximately 4 hours |
| Recommended Help | Two people |
This installation was completed using factory frame mounting locations without cutting or drilling the truck.

Why I Chose an Aftermarket Steel Front Bumper for My 2nd Gen Tacoma
The main reason I upgraded my Tacoma bumper was functionality. Compared with the factory bumper, an aftermarket off-road bumper provides several advantages:
Winch Compatibility
A built-in winch mounting system allows the truck to carry recovery equipment without adding a separate mounting solution.
Better Recovery Points
Factory tow points are designed primarily for basic towing situations. A properly designed aftermarket bumper provides stronger recovery mounting locations for off-road situations.
Auxiliary Lighting Support
Many aftermarket Tacoma bumpers include mounting locations for LED light bars or additional driving lights.
Increased Protection
A steel bumper offers more coverage and durability for trail use compared with the factory bumper design.

Tools I Used for My 2nd Gen Tacoma Front Bumper Installation
Before starting, I prepared the following tools:
Hand Tools
- Metric socket set
- 6mm, 8mm, and 12mm sockets
- Ratchet wrench
- Socket extensions
- Torque wrench
- Phillips screwdriver
- Flathead screwdriver
- Rubber mallet
- Plastic trim removal tools
Helpful Supplies
- Painter's tape
- Microfiber towels
- Small containers for bolts
- Anti-seize lubricant
- A second person to help lift and align the bumper
One of the best decisions I made was sorting all hardware before installation. I separated everything into M6 hardware, M8 hardware, and M12 hardware. This prevented confusion later during assembly.
Hardware Organization Before Installing a Tacoma Aftermarket Bumper
The aftermarket bumper kit included several different bolt sizes. The most important step before installation was matching each fastener with its correct location.
| Hardware Size | Typical Use |
|---|---|
| M6 bolts | Light bar bracket |
| M8 bolts | Bumper body and cover panels |
| M12 bolts | Frame mounting, winch plate, recovery points |
The longer M12 bolts were especially important because they were used for the main bumper mounting points. Before installing anything, I placed all bolts, washers, and nuts into separate labeled containers.
Step-by-Step 2005–2015 Tacoma Front Bumper Installation Guide
Step 1: Assemble the Bumper Before Installing It on the Truck
I assembled the main bumper on the ground first. This included:
- Connecting left, center, and right bumper sections
- Installing cover panels
- Installing recovery point brackets
- Installing the LED light bracket
The most important lesson I learned: Do not fully tighten the bumper body bolts immediately. Keeping the bolts slightly loose allows the bumper sections to move and align correctly.
Step 2: Align the Bumper Panels
After connecting the bumper sections, I installed the outer panels and checked the gaps. At first, I tightened the body bolts too early, which caused uneven spacing between the panels. The fix was simple:
- Loosen the body bolts
- Adjust the bumper sections by hand
- Check panel spacing
- Tighten bolts gradually
Taking extra time here made the final appearance much cleaner.
Step 3: Remove the Factory Tacoma Front Bumper
Before removing the factory bumper, I protected the painted areas around the front end using painter's tape. The removal process included:
- Removing factory mounting hardware
- Releasing plastic clips carefully
- Disconnecting the bumper assembly
- Removing the factory bumper with assistance
A plastic trim removal tool helped prevent damage to the factory clips.
Step 4: Mount the New Bumper to the Tacoma Frame
This was the step where having another person helped the most. The aftermarket bumper was much heavier than the factory bumper. My helper supported the bumper while I:
- Aligned mounting holes
- Started bolts by hand
- Checked positioning
- Completed final tightening
Starting every bolt by hand before tightening prevented alignment problems.
Real Installation Lessons From My 2015 Tacoma
Lesson 1: Hardware Organization Saves Time
The biggest time saver was sorting bolts before beginning. Without organization, it is easy to confuse similar-looking fasteners.
Lesson 2: Alignment Matters More Than Speed
The bumper looked simple during installation, but small alignment adjustments made a big difference. A few extra minutes during assembly prevented having to remove panels later.
Lesson 3: Install Accessories Before Mounting the Bumper
I installed the light bar bracket before mounting the bumper. This was much easier than trying to reach mounting points after the bumper was already attached to the truck.
Lesson 4: Use Two People for Final Installation
The bumper assembly is heavy and awkward. A second person made it easier to:
- Protect the truck's paint
- Align mounting holes
- Avoid unnecessary stress on brackets
Common Mistakes When Installing a 2005–2015 Tacoma Front Bumper
Fully Tightening Bolts Too Early
Problem: Creates uneven gaps between bumper sections.
Solution: Keep assembly bolts loose until final alignment.
Mixing Different M12 Washer Sizes
Problem: Incorrect washer placement can affect mounting strength.
Solution: Keep large washers reserved for frame mounting points.
Removing Plastic Clips Too Quickly
Problem: Factory trim can crack.
Solution: Use plastic tools and remove clips carefully.
Installing the Light Bracket Last
Problem: Limited access after bumper installation.
Solution: Install accessories while the bumper is still on the workbench.

Frequently Asked Questions
Does an aftermarket bumper fit all 2005–2015 Toyota Tacoma models?
Most bolt-on bumpers are designed around factory frame locations used on 2nd Gen Tacoma models. Always confirm compatibility with your exact cab style and bumper design.
Can I install a Tacoma aftermarket bumper alone?
Technically possible, but I recommend having another person help. The weight and size make alignment much easier with two people.
Do I need to cut or drill my Tacoma frame?
The bumper I installed used factory mounting locations and did not require permanent modifications.
Is an aftermarket bumper better than the factory Tacoma bumper?
It depends on your needs. For daily driving, the factory bumper is adequate. For off-road use, winch mounting, recovery equipment, and additional lighting, an aftermarket bumper provides more functionality.
Post-Installation Checklist for Your 2nd Gen Tacoma Front Bumper
Before driving, I completed a final inspection to make sure everything was secure. I recommend going through this checklist after every aftermarket bumper installation on a 2005–2015 Tacoma:
Immediately After Installation
- ☐ All M12 frame mounting bolts fully torqued
- ☐ All M8 bumper body bolts tightened and panels evenly gapped
- ☐ Recovery point D-rings seated and locked
- ☐ Winch plate bolts secured (if winch is installed)
- ☐ LED light bracket bolts tightened
- ☐ No contact between bumper and radiator or cooling components
- ☐ Bumper sits level and centered on the truck
- ☐ All factory clips and trim pieces reinstalled or stored
After First 50 Miles of Driving
- ☐ Re-check all M12 frame mounting bolts for any loosening
- ☐ Re-check bumper panel gaps for any shifting
- ☐ Inspect recovery points for any movement or play
- ☐ Verify winch plate remains secure under load (if applicable)
Steel bumpers are heavier than factory units and can cause minor bolt settling during the first few drives. A quick re-torque check after 50 miles is a simple step that protects the installation long-term.
Final Thoughts From a 2015 Tacoma Owner
Installing an aftermarket front bumper on my 2015 Toyota Tacoma was one of the most rewarding upgrades I have completed. The installation itself was straightforward, but the details mattered:
- Organize hardware before starting
- Follow the correct assembly sequence
- Take time to align panels
- Use help when mounting the bumper
- Double-check every connection before driving
A properly installed aftermarket bumper can transform the capability and appearance of a 2nd Gen Tacoma while keeping the installation clean and professional.
Always follow the manufacturer's installation instructions and use proper safety procedures when working under or around your vehicle.
📄 Official Installation Manual
Need torque specs, hardware diagrams, or a step-by-step technical reference? Download the official installation manual for the 2005–2015 Toyota Tacoma 2nd Gen Front Bumper.
Ready to Upgrade Your 2nd Gen Tacoma?
If you are planning the same front-end upgrade for your 2005–2015 Toyota Tacoma, the aftermarket bumper featured in this installation guide is designed as a bolt-on solution for 2nd Gen Tacoma owners who want improved recovery capability, winch compatibility, and additional lighting options.
You can check the full product details, fitment information, included hardware, and installation specifications here:
👉 [2005–2015 Toyota Tacoma 2nd Gen Aftermarket Front Bumper]
Before ordering, verify your Tacoma model year and configuration to ensure proper fitment. Preparing the correct bumper and hardware in advance will make the installation process smoother and help avoid unnecessary delays during your build.